

Over Christmas I had 3D printed a clock frame for my granddaughter’s birthday. The size ended up being three separate prints which I later glued together. All three prints were done ‘face down’ on the Sindoh bed and all printed on a raft. Once the raft had been removed the finish was not very elegant as it showed the striations of the raft on what would be the viewed surface. The print was in PLA and I initially did some tests on scrap prints to see if I could rub a surface down. This was not an ideal approach and I was not too keen to start on the clock in this manner.
Next idea was to use Gorilla twin pack glue cut with Meths. This created a very runny adhesive mix that could be brushed onto the surface of the print. Surprisingly enough despite being ‘modified’ the glue went off and was quite hard to the touch. It did not rub down all that well.
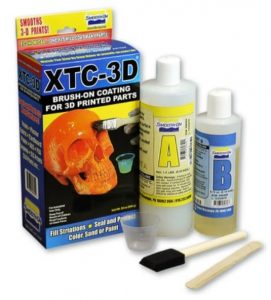
Reading up on the net there is a product called XTC-3D which is made just for this purpose. It is expensive but does stretch a long way in use. It is a twin pack mix in 2:1 ratio and once mixed it has a setting time of around 20 minutes so you need to get your act together and be well prepared. The makers recommend using a wide foam brush to apply the compound. This was quite good in that it ‘scraped’ across the tops of the striations and the filler settled like levelling compound does on a floor.
I left it to harden off overnight and then rubbed down wet with 400 grit paper on a flat surface. This kept the dust damped. The finish was excellent. I then undercoated and glossed with acrylic spray paint.
The final clock frame looked very good with no obvious signs of the printing artefacts. While pricey, I would recommend the XTC-3D product for this purpose.
Similar or related subjects : –
- Qidi X Smart 3 revised fan installation
- Qidi X Smart 3 tweaks
- Qidi X Smart 3 special weekend pricing
- Stop losing Qidi ifast 3D prints down the chamber front gap
- Fitting a Bento air filter to a Qidi ifast 3D printer
- 3D Printed Brass Threaded Insert Soldering Iron Stand
- eSUN filament reel silica drying pod
- Sindoh 3DWOX filament feed upgrade
- Sindoh DP200 conversion to Open Material
- Joining PLA filament