How to take a PNG file and import it as a SVG
While you might think I write my activities on my blog for general interest, you might be surprised to know that the main reader of my blog is me ….. my posts act as an aid to remembering how I made something or the processes I use.
I recently had a item to make and this needed a logo inserted onto the Fusion 360 model. I had the logo as a PNG file and I needed this to be converted into a SVG for ease of import to Fusion. You can do this conversion online for free at the following link : –
Once you have the SVG file you import this into Fusion using the Insert menu in the Design workspace. The inserted SVG can be manipulated to fit the location on the model and can then be extruded either as a cut or a build on the surface selected.
There is a simple video covering this activity on YouTube on the following link : –
https://www.youtube.com/watch?v=7rAi1lvgxS4&ab_channel=RubenGuscott
Sorry that was nothing exciting but it will help me remember next time I need to do this.
Links to similar or related post are listed below : –
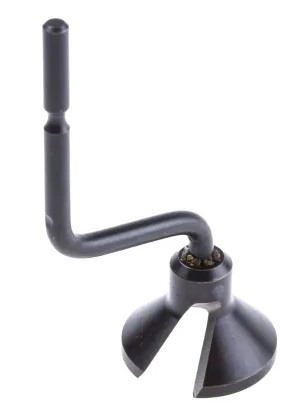
- Automated 3D printed collet storage using Fusion 360 parameters
- Fusion 360 Keyboard Shortcuts
- Creating a worm drive in Fusion 360
- Fusion 360 Parameter Lookup Sheet
- Adding Colour Coding to Fusion 360 Assemblies
- Adding a logo to a Fusion 360 model
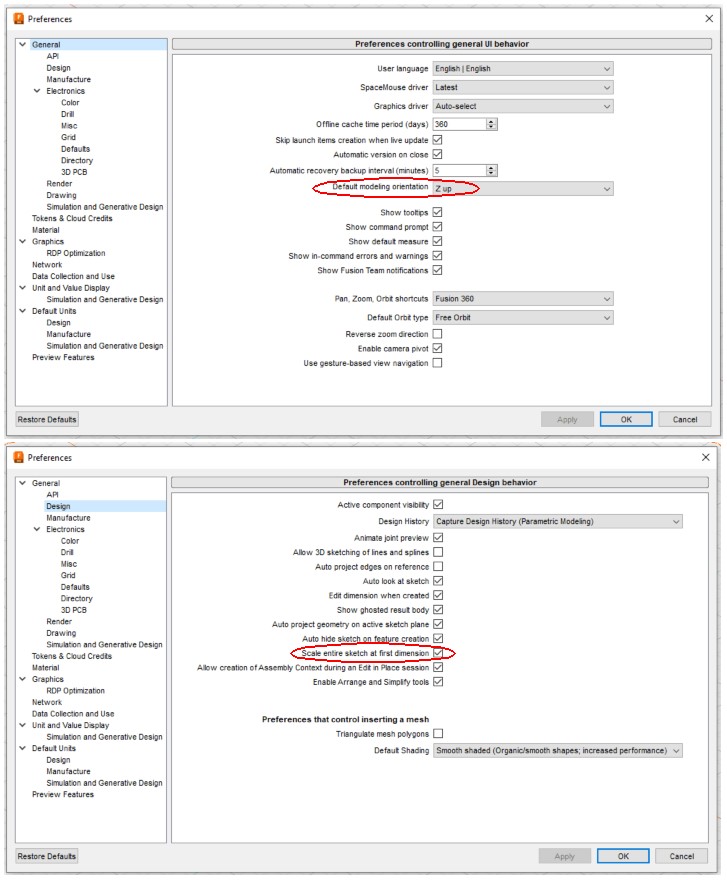
- Two important Fusion 360 Preferences tips
- 3Dconnexion Spacemouse has better Fusion 360 integration
- Try again after update completes Fusion 360 Error Message
- Fusion 360 Electrical Personal Library tip
- Automated 3D printed collet storage using Fusion 360 parameters
- Fusion 360 Keyboard Shortcuts
- Creating a worm drive in Fusion 360
- Fusion 360 Parameter Lookup Sheet
- Adding Colour Coding to Fusion 360 Assemblies
- Adding a logo to a Fusion 360 model
- Two important Fusion 360 Preferences tips
- 3Dconnexion Spacemouse has better Fusion 360 integration
- Try again after update completes Fusion 360 Error Message
- Fusion 360 Electrical Personal Library tip