

Mach3, Limit Switches and First Cut
Progress has been good in getting the 3040T running. Mach3 is not like PathPilot but then it is an all things to all machines software whereas PathPilot is dedicated to the Tormach family. As a result of this Mach3 does take a bit more getting your head around and there is a lot more under the hood settings and adjustments that you have to address.
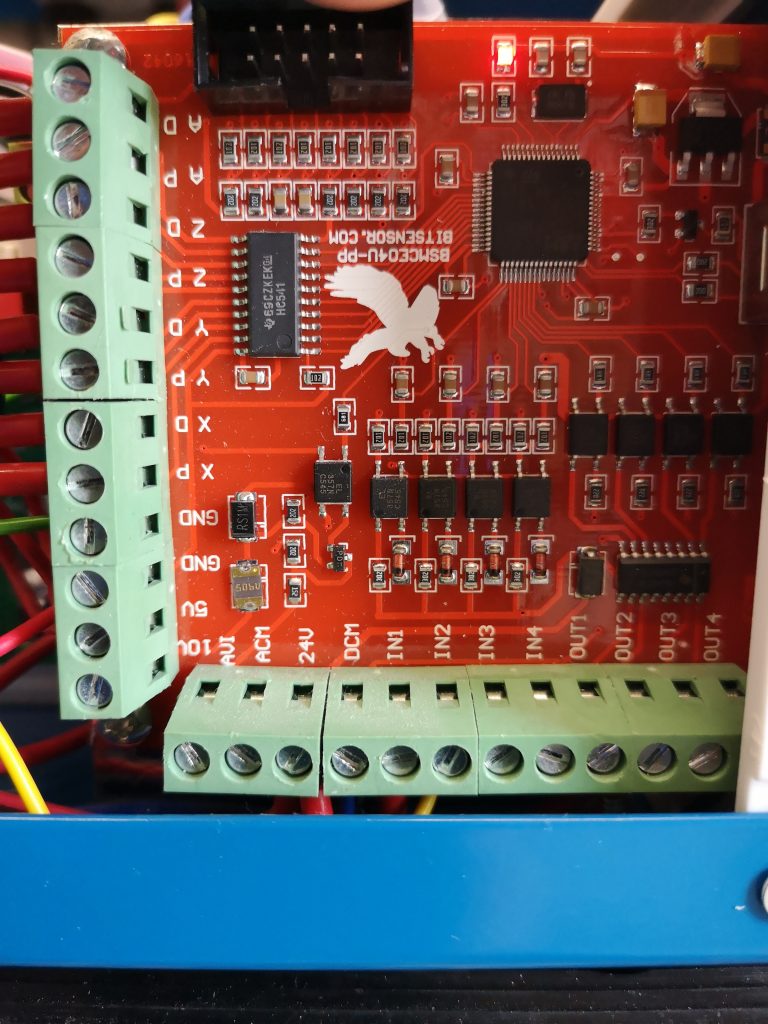
The first problem was the RnR USB interface card and trying to work out which port was which on the card connections. Once this was sorted the motors responded to keyboard directional commands with the arrow keys and page up/down. I had to make changes to the Mach3 Config for this. If anyone needs screen shots of these setups send me a message.
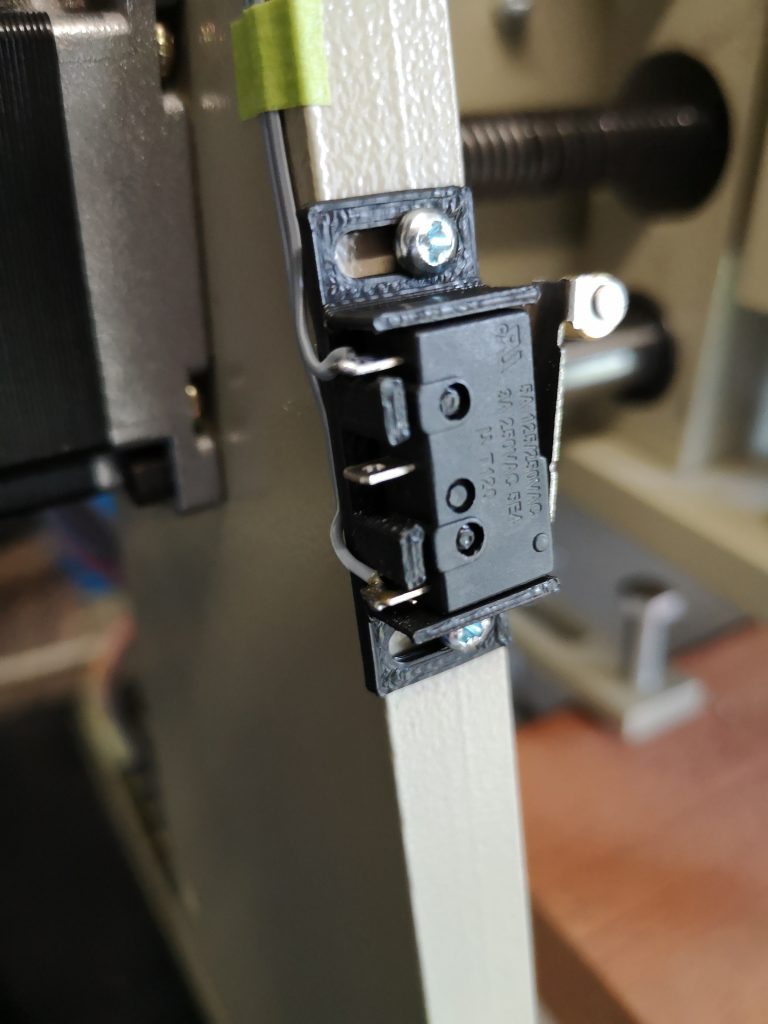
Having been used to homing the Tormach I decided that adding limit switches to the 3040 would be a good thing. I fitted 6 microswitches and wired them in series via their normally closed contacts to create a loop. I connected one end of the loop to the Input 2 terminal on the card terminal strip (Port 3) and the other end to ground. Any switch when activated will now break the loop and create an alarm condition. The same switches also perform the home reference function. (Mach3 just looks for a break in the circuit relevant to the function being asked of it – it knows when it is homing and it knows when it is running and looking for a switch break).
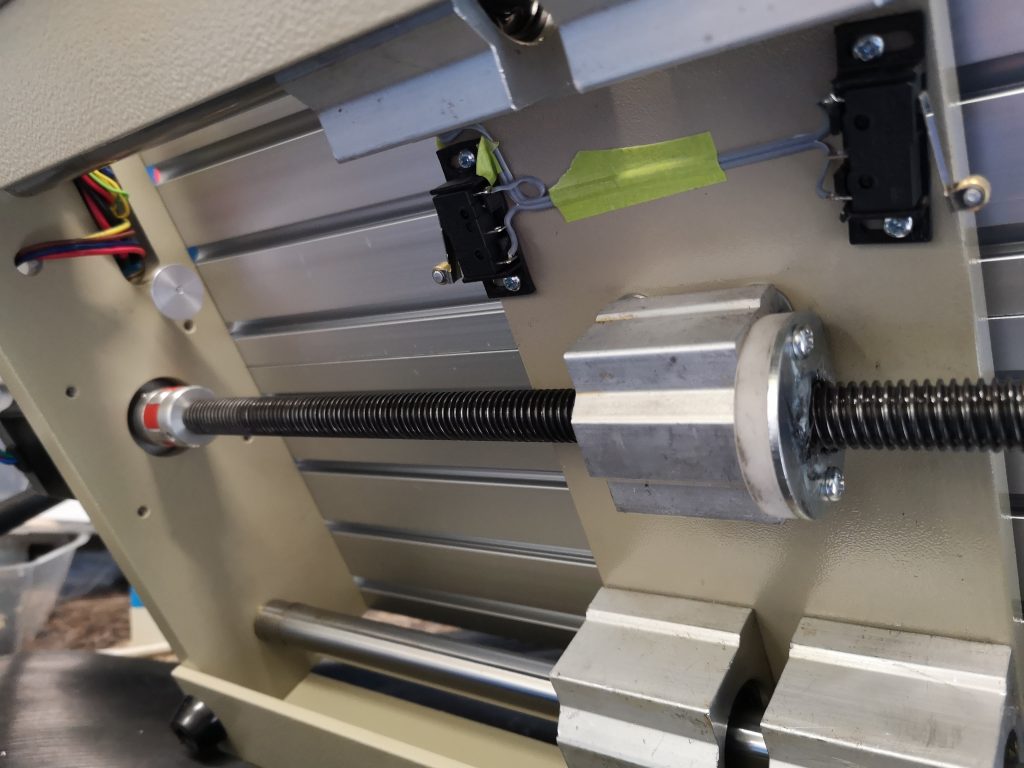
I made 3D printed mountings for the switches and covers for these. I had to add extra wiring to the cable forms both on the machine, through the connector cable to the control box and inside the control box. Fiddly but done. I slipped up with the +Y back stop switch in that I mounted it on the cross plate without realising that the interface cabling to the umbilical connector fouls the movement. There was a protruding M3 screw holding the interface connector in place which was acting as a crude carriage stop. I turned an eccentric ‘top hot’ to fit on this screw to activate the microswitch.
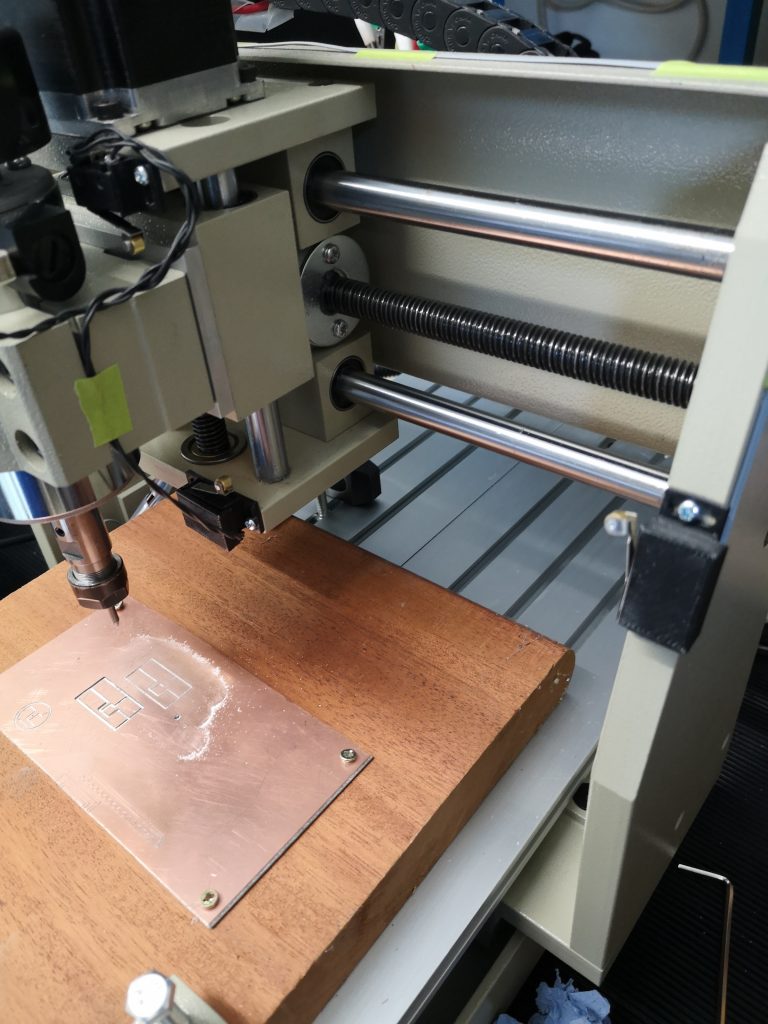
Fitting the switches has now made setting up more repeatable and it consistently goes to 0,0,0 when doing a Reference All. Having referenced the spindle head, it can then be moved to the WCS zero ready to run a job. So far I have played with the demo Mach3 which has limited lines of GCode capacity but I have run some of my small PCB milling routines successfully. So all looking good but as ever I wasn’t satisfied and wanted to make life easier by using the Tormach ShuttleXpress controller. This involved downloading a plug in file to add to Mach3. It sort of works but it isn’t like it is on the Tormach so I am still trying to get to grips with it.
I am waiting for a delivery of TackPack superglue to stick the cable wiring in place, hence the fluorescent green masking tape. The flat cable is standard ribbon cable stripped down to be the right number of cores as needed. Note that I replaced the backing plate on the Z mounting (the bright aluminium as seen in the first picture) as this protruded too far down and would not allow the microswitch to be easily mounted. A few pictures of progress below and more updates to follow.
Similar or related subjects : –
- Notepad ++ for GCode Editing
- Local power USB switching circuit
- Tormach PCNC440 X Axis limit switch repair
- Experiences CNC machining Aluminium Composite Material (ACM)
- Enclosure finally added to my Tormach PCNC440
- CNC Work Reference Centring using Mushrooms
- Clough42 Electronic Leadscrew Project Implementation Notes
- Floating pressure foot for the CNCEST3040T mini milling machine
- Probes and Haimer Taster Modification
- Arc and Circle I and J code calculator for GCode cutting paths