This is about how to grip screw threads to clean them up and is dedicated to my inspiration William Smith.
You have a screw you have cut to length and the end is a bit chintzy and needs facing off and rounding to leave a good thread start. You could run a couple of nuts onto the thread and grip it in the lathe chuck but there are issues with this.
Bill suggested various methods to hold the screw and solve the problem.
Option 1 – Use a Nut
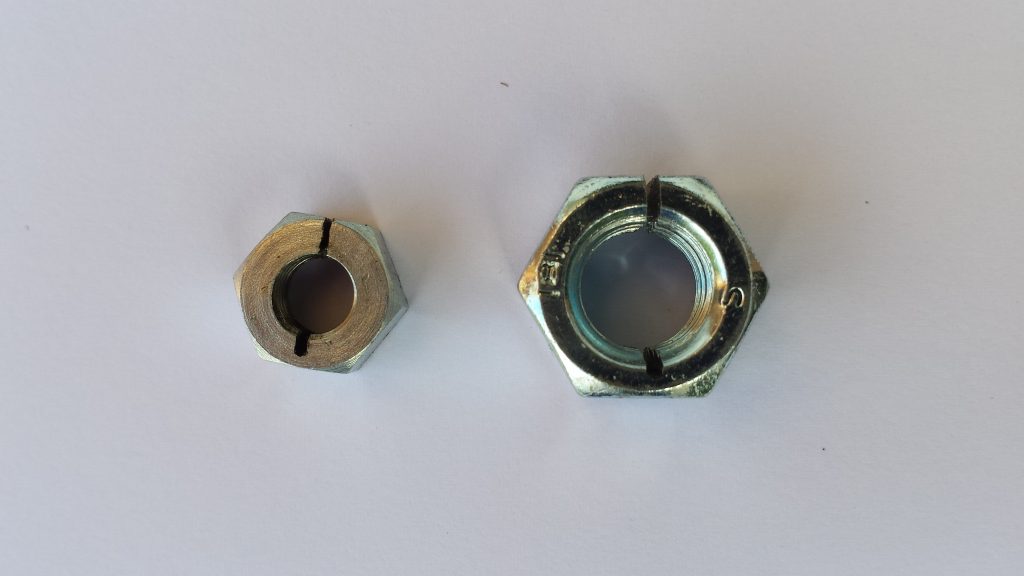
If the residual thread is long enough to allow it, you can cut a slot in a matching nut as shown below. The nut is squeezed in the chuck and grips the thread. This works for larger screws but not so for small ones where it is difficult to cut the slots.
Option 2 – Make a substitute Nut
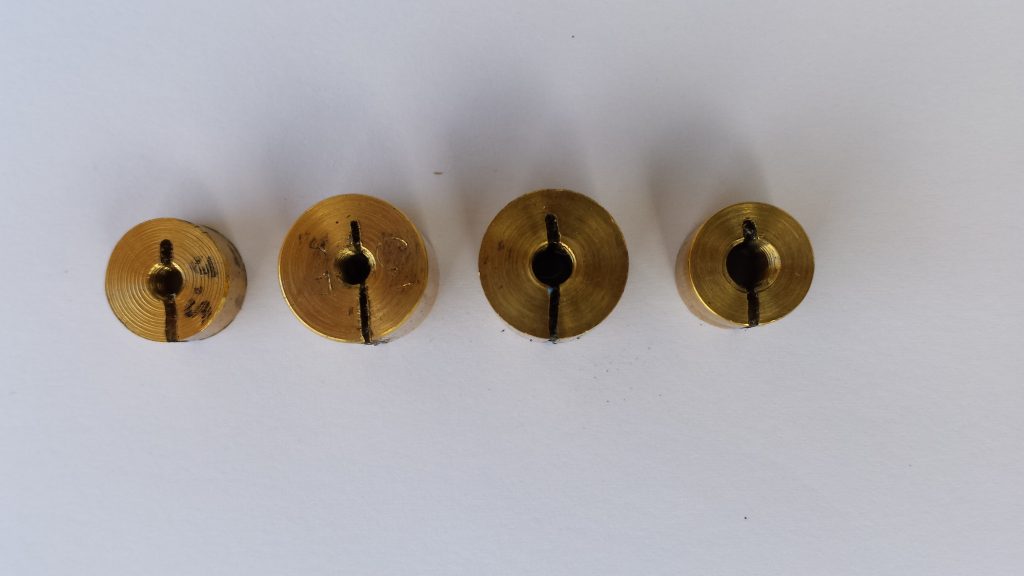
The next alternative is to turn a brass disc a few millimetres larger diameter than the head of the screw and say 10mm deep. Centre drill on the lathe and tap to the thread size of interest. As with Option 1, put the disc on edge in the vice and cut a slot from the edge to the centre and continue a little further into the other side of the hole. It will look like this.
Run your screw of interest into the threaded hole so the chintzy end is protruding. Grip in the lathe chuck and squeeze the jaws shut. The slits in the disc will ensure the brass is squeezed down tight into the thread. You can now clean up the end. I have a set of such discs for all my standard working threads.
Option 3 – Make a screw head gripper
Now what about when the thread does not protrude through your disc ? You could make a thinner disc but then it might not grip true in the chuck.
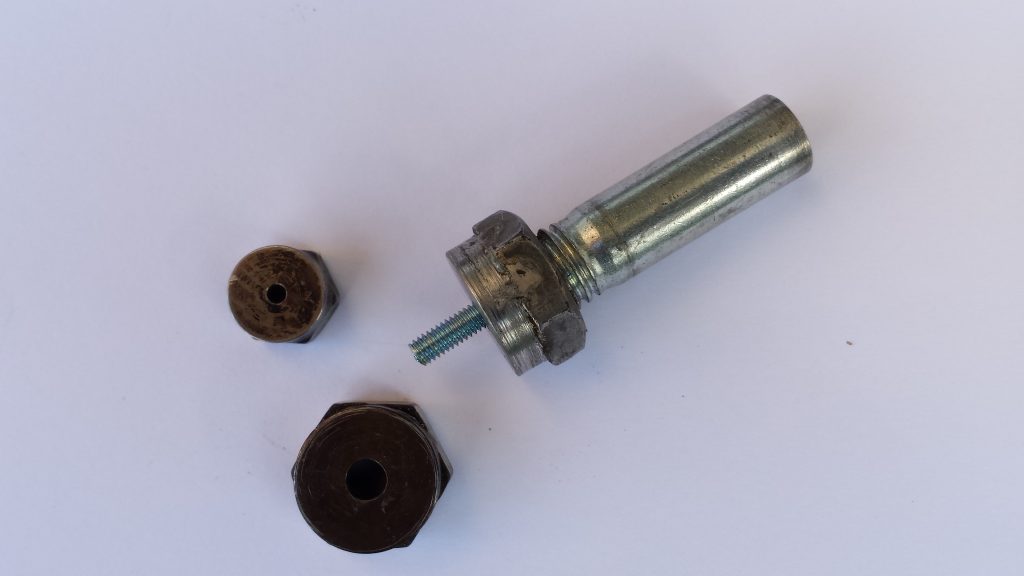
Find a nut and bolt in the junk box that allows you to pass the head of the affected screw into it. Preferably choose a screw (coach bolt) that has a half and half shank.
Face off the nut in the lathe to remove any corrosion or plating. It helps also if you can undercut the thread a little inside the nut at the faced end. Silver solder the face of the nut to a piece of mild steel. Re-chuck the nut with its end cap and turn the attached plate circular.
Cut the head from the mating bolt and if a plain shank type, cut back the threaded section to be long enough to just fill the depth of the nut.
Chuck the cut bolt with the nut in place and centre drill the attached end plate with a hole the size that matches a tight OD on the thread you intend to clean up. Deburr both sides of the plate.
Drop the screw to be cleaned up into the nut. Screw the stub end in place to squeeze down on the head of the screw. Spin the lathe and you can now clean up the end of the thread which will run surprisingly true. You are only limited on length of screw that can use this device by the thickness of the end plate. Once again make a set to suit all your standard thread sizes using the same size nuts and using the common shank.
Drill Depth Stop
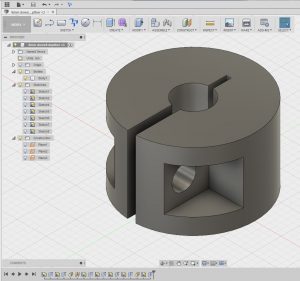
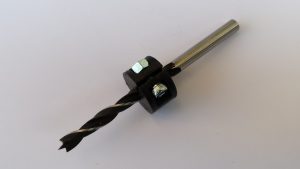
Continuing the theme I recently bought a dowelling set. It had dowels, button markers and a depth setting fitment. The fitment was an improvement on the previous kit I had bought which had a plain collar with a grub screw. The grub screw always seemed to find its way into the flutes of the drill and as result move from the desired position. The new one was a hinged clasp that had a tightening screw. I quite liked the new concept but ideally I wanted more than one and they were pricey to buy. My first thought was to draw it up in Fusion and model one on my Sindoh 3D printer but the physical issues involved didn’t make this practical.
The light bulb came on and I realised that this fitment was really just a refined version of my simple thread holder (Option 2 above ) with a tightening screw to replace the lathe chuck. This was much easier to model in Fusion 360 and a one piece print on the Sindoh 3D printer. A 4mm cap head bolt and nut finish the job.
