Not too bad to do but needs a logical approach
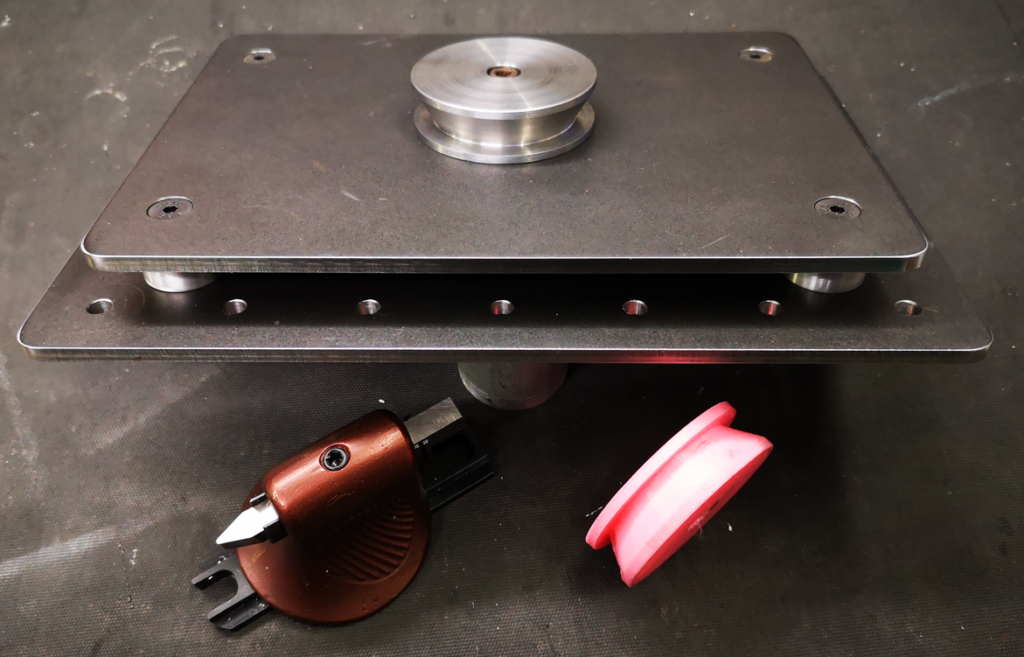
For some time my compressor has been intermittently kicking in without anything running to justify it. By chance I heard a slight hiss and then felt a small ‘breeze’ coming from the bottom of the Tormach drawbar compression cylinder stack. This device has three pistons stacked together to give enough downward pressure to open the drawbar gripping the TTS collet. The machine was installed in 2016 so the seals have done quite well to survive this long.
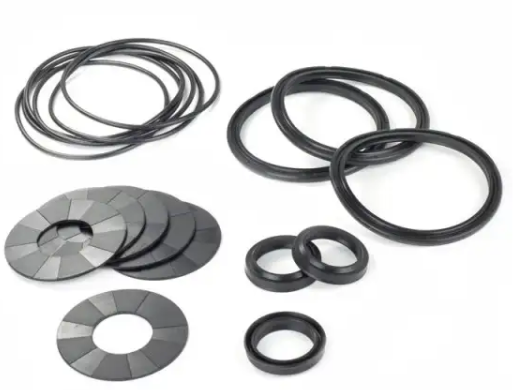
I did some web based research and found that Tormach offer a seal replacement kit so clearly this was something that was an expected service activity. I ordered the kit (which cost less than the courier charge). Here is an image of the kit.
My research also found a very old YouTube post by John Saunders at NYC CNC where he describes how to undertake the service activity. It looked like a job I could manage.
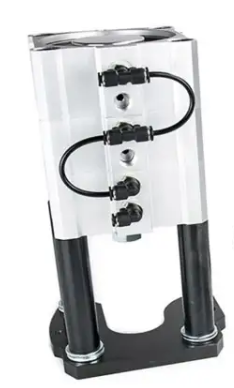
My PCNC440 model was slightly different to John’s in so far as removing the piston assembly out of the machine. On mine you have to just remove a single shoulder bolt and a pull out pin. However before doing this you need to put any of your TTS tools in the collet to relieve the pressure from the cylinder plunger head. Once this is done, turn off and bleed the air supply before removing the two air feeds. Mark them so you know which one goes to which port. Also mark the three piston sections with a Sharpie so you know which order and orientation they are in.
The piston stack has the three sections clamped together with four bolts inserted from the top of the stack. The bottom end mounting plate also has long screws that pass through spacer tubes but only fasten into the bottom piston section. Note that these spacer tubes might well have some large additional height setting washers so don’t lose them.
I suggest removing the bottom three screws first of all so you are left with just the three cylinders still held together by the top four bolts.
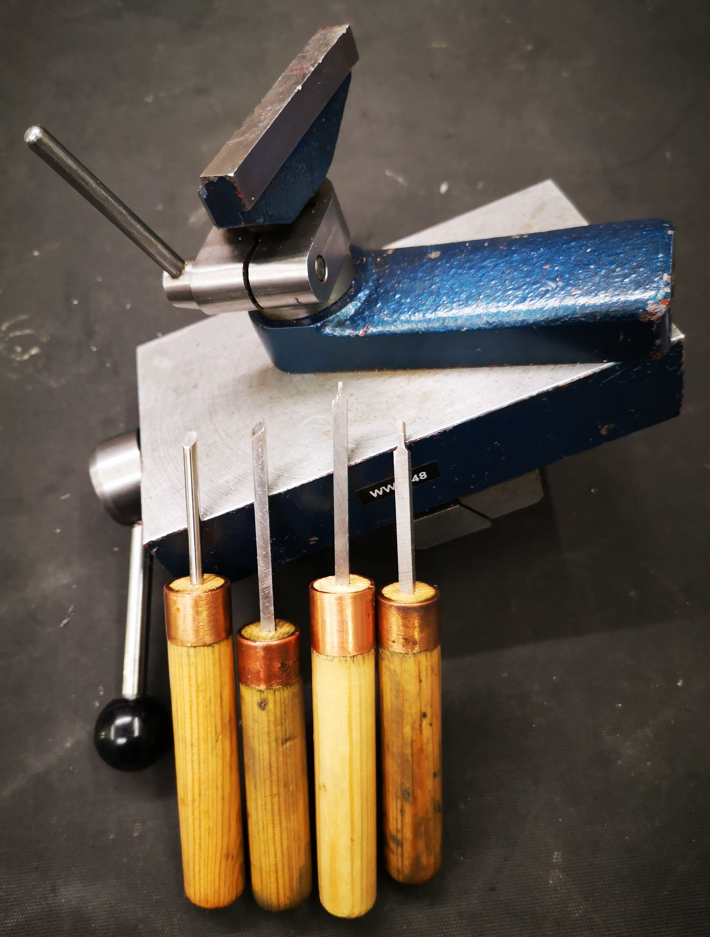
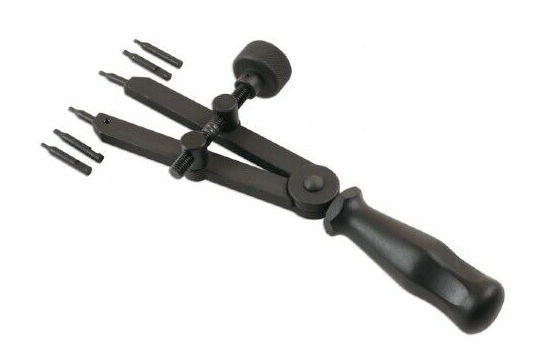
Now for a tricky part – you need to remove the large circlips that are fitted to the top and bottom ends of the piston stack. These are not easy to remove unless you have a decent tool to grip them. Basic handheld circlip pliers are unlikely to perform and you could end up search the workshop for flying circlips. For this reason you must wear some eye protection while removing the circlips. I bought in a pair of these pliers and they were superb for the job.
Once the circlips are removed you can remove the four top bolts holding the stack together and be able to split the three sections. Be careful how you do this so you see and understand what is where and the order of assembly.
The end plates that were held by the circlips are pushed outwards. All the other sections should freely slide out as appropriate.
With everything ready, start from one end of the assembly and do a logical swap out of the old seal and swap in the new one and re-assemble that section. Clean off any debris in the seal grooves and add new grease to the seals and their locating grooves. I used silicon grease.
The kit comes with 6 standard section O rings, 3 wider section rings and 3 central piston seals as shown in the image above. By swapping only one seal in and out at any one time you get a good control check that you haven’t missed anything.
My kit also had some small O rings that are not shown in the Tormach image of the kit contents. I can only assume that the kit is universal to a number of other piston types.
Update : Tormach has since confirmed that the extra small O rings are for the 770 and 1100 versions only.
The whole swap out activity took around 2 hours. This piston worked fine when re-installed back on the 440. “Phew!”