First screw threads cut using Clough42 electronic leadscrew

Metric Threads on an Imperial Lathe

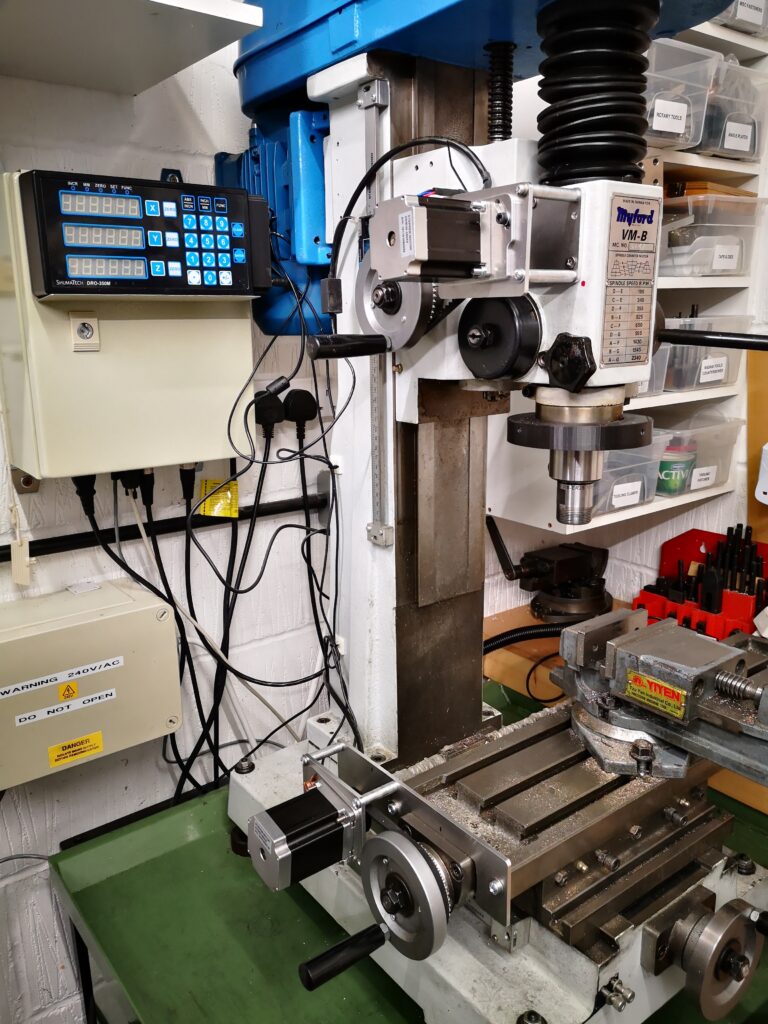
You might well have read my write up on how I implemented the Clough42 Electronic Leadscrew on my Myford Super 7 Large Bore lathe.

While I have been successfully using the ELS as an automatic feed, I had put off attempting screw thread cutting.  You know how it is.   Screw cutting is nagging at you to try, but it is on the ‘too difficult’ pile pending other more interesting jobs.  There is always something else to do, so you kid yourself it is justified to put it off until another day.  Well another ‘lockdown’ day dawned and I decided today was the day.   

My experiences are recorded here as a full write up

Screw cutting using the Clough42 ELS

Similar or related subjects : –

CNC Work Reference Centring using Mushrooms

This is probably not original but worth commenting on.   I have a tooling plate on the bed of my Tormach PCNC440.  This has a matrix of M8 holes on 25mm spacing together with intermediate 3.7mm tooling pin holes.

Quite often I have a need to set up my work CNC coordinate system (WCS) such that it is centred on one of the M8 holes. 

If I want to do a quick and dirty centre on one of these holes then I use the Laser Centring tool as mentioned elsewhere on my blog.

If I need to be a bit more precise then I have a mushroom/top hat shaped disc with shank that is a tight fit in the tapped M8 holes.  PathPilot has a number of probing routines and these include finding the centre of a circular object.    Simply push the top hat into the desired hole and then probe the disc for centre.  You can use an active probe such as the Hallmark ITTP.

If you haven’t got an active probe you can use a Haimer.   Simply align the Haimer tip somewhere close to a maximum point on the disc circumference and advance the axis to show a reading on the Haimer.  Rock the opposite axis back and forth and watch the Haimer reading to find the high point on the circumference.   Zero the axis.   Go to the opposite side of the disc and repeat this process and divide the measured diameter by 2 for the disc centre.   Repeat on the opposite axis.

(You can use this Haimer rocking back and forth method to find the diameter high point when cross drilling a circular item to fit grub screws etc).

Hole centring mushrooms
Two examples from my ‘mushroom farm’

The mushrooms are made with a silver steel shank that is skimmed to be a non wobble (how technical is that ..) fit in M8 (~6.8mm) and an aluminium top hat that is superglued in place on the shank.   Once the glue has set the top hat is squared up while held in a collet in the lathe.  This ensures concentricity with the shank.   The disc will now sit flat to the tooling table when the shank is pressed home and perpendicular in the hole.

Clearly the larger the disc diameter the less centring error there will be.

I now have a ‘mushroom farm’ of discs for all manner of hole sizes.  It’s not rocket science but as you well know, I am all for a simple (aka lazy) approach.  Apologies to all the Grannies out there.

Similar or related subjects : –

Adding stepper motors to a Myford VMB manual milling machine

Myford VMB Manual Mill Conversion to Stepper Motor control

After many years of winding the Z axis up and down on my Myford VMB I have finally got around to fitting motor control and it is a joy to use.   I am however suffering from muscle wastage as a result.

stepper motor control of a VMB manual milling machine
A general view of the stepper motor control conversion of a VMB manual milling machine. Only the X and Z axis are completed so far. The control box is on the wall behind the mill and has the Shumatech DRO control panel mounted on the front panel.

I have done a write up for those who might want to also enjoy a less taxing movement of X, Y or Z axis on their manual milling machine.  Click on the link below to download as a pdf.

 Fitting XYZ motor feeds to Myford VMB v4

Similar or related subjects : –

Verified by ExactMetrics