

I bought one of the Wildhorse Innovations Passive Probes some time ago and it gets used occasionally (usually when I have dispatched another Haimer tip to happier hunting grounds).
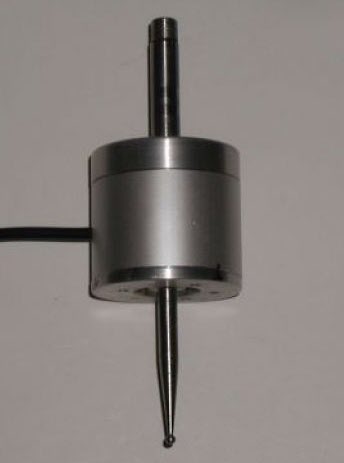
The Wildhorse design is nice and simple and it can be bought with a ‘Tormach Option’ which is a cable with a ready fitted 5 pin DIN that is pre-wired to plug straight into the Tormach 440 accessories socket. I have to say it did not talk to the Tormach PathPilot interface immediately. I had to snipped the pull up resistor inside the unit to solve this. When in use on the Tormach you have to designate the probe as Tool 99 in the tool table so as to be able to utilise the PathPilot probing routines (which are very good).
So where is all this going ? Well it is a A to B to C progression …
I dusted the probe off to use the other day and as I had not used it for some time, I did a centring calibration of the probe ball point while mounted in the Tormach spindle. This is a real pain to do as the three centralising adjustment screws are on the bottom face of the body. As a result you can’t see what you are doing and there is a danger of knocking your dial gauge in the process and having to start again.
This got me thinking about whether I could do this adjustment off line in the lathe. This way the adjustment screws on the bottom face are readily accessible. This seemed like a good idea except the umbilical cable is permanently wired into the unit so it needed to be protected from a disastrous wrap round the chuck. Initially I wrapped the cable around the body of the probe and held it there with masking tape but it wasn’t ideal.
Watching the probe spin in the lathe chuck made me also realise that because I had mounted the probe in a Tormach TTS collet this was a waste of a collet. It might also be adding to eccentricity through using such a combination. So you see that one thing leads to another and to another. A workshop wormhole.
A plan was made. Fit a connector on the probe body to allow the cable to be disconnected and replace the existing mounting rod with a TTS equivalent.
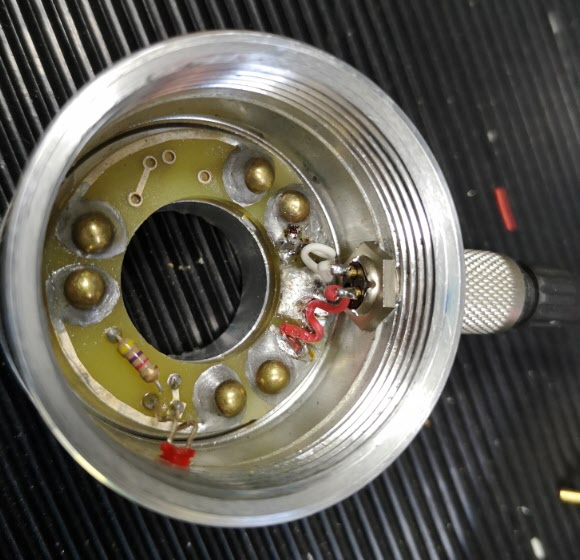
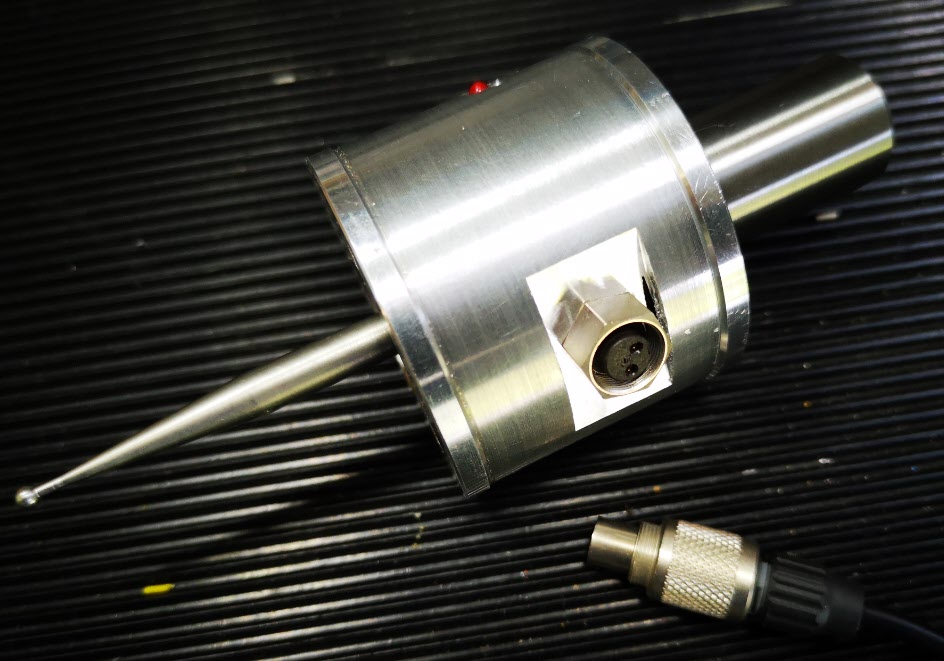
Finding a suitable connector was a bit more tricky than expected in that there is not a lot of room inside the probe body and a connector that protruded too far would foul the spring loaded mechanics. My search for a suitable connector combination Iead me to a 2 pin Binder rear mounted socket (Part Number 09 0074 00 02). Being pedantic it should be a fixed plug as the connecting cable connector (Part Number 99-0071-100-02) would now have two exposed pins carrying a voltage. The supplier only had the fixed socket version in stock so I conveniently looked the other way on that argument – the cable would rarely be unplugged so not likely to be a problem …
The circular body of the Wildhorse Probe is quite substantial. When the connector arrived and I was ready to proceed, I took a picture of the existing wiring and then snipped the cable clear. I enlarged the hole in the body wall to 9mm but then discovered that the mounting thread on the connector was not long enough protrude through the probe body wall far enough to pick up on the retaining nut. To overcome this I milled a flat area on the shell outer surface. The two connecting wires where then soldered in place on the fixed connector and then on the mating male connector on the free end of the cable.
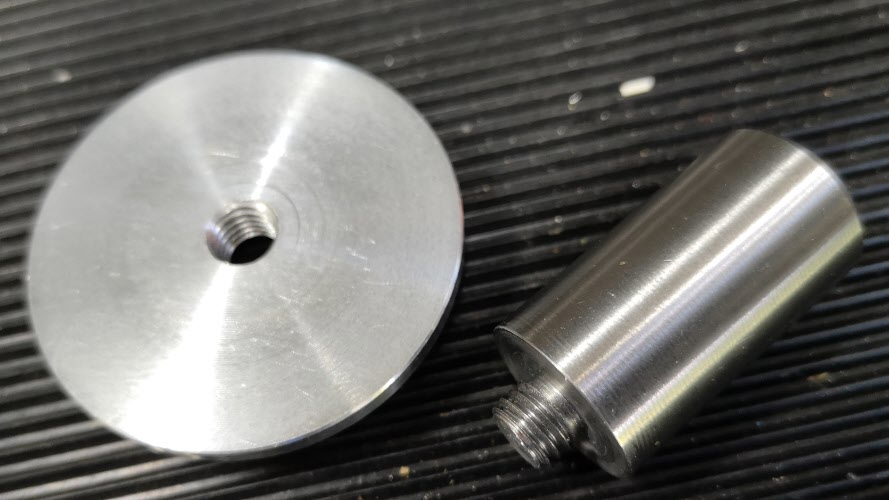
The next job was to make the new fixing rod. I always try to have 19mm silver steel available in my stock box. This matches the TTS collet outside diameter. I decided I would make a new mounting rod with the silver steel and I would increase the threaded mounting hole on the probe top to M8 from the 1/4″ size as supplied .
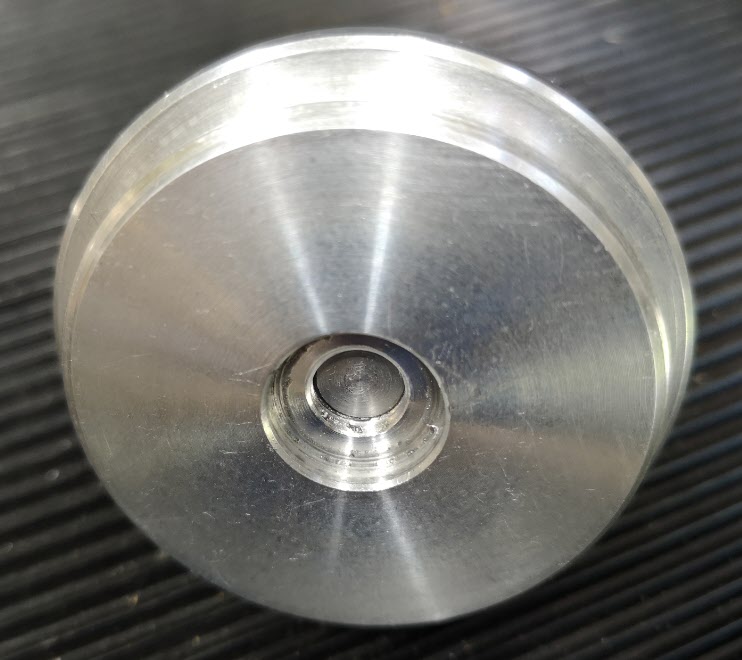
The larger diameter would provide a larger shoulder on the rod to tighten against the probe top. Using M8 would allow the stud mounting hole to still sit within the pocket that retains the pressure spring. The rod was faced and turned to 8mm for 5mm or so and the M8 thread cut and undercut with a graver. The other end of the rod was faced and then a 45 degree chamfer turned on it. The finished rod screwed nicely into the top plate and the body now seemed to run solidly square to the central axis.
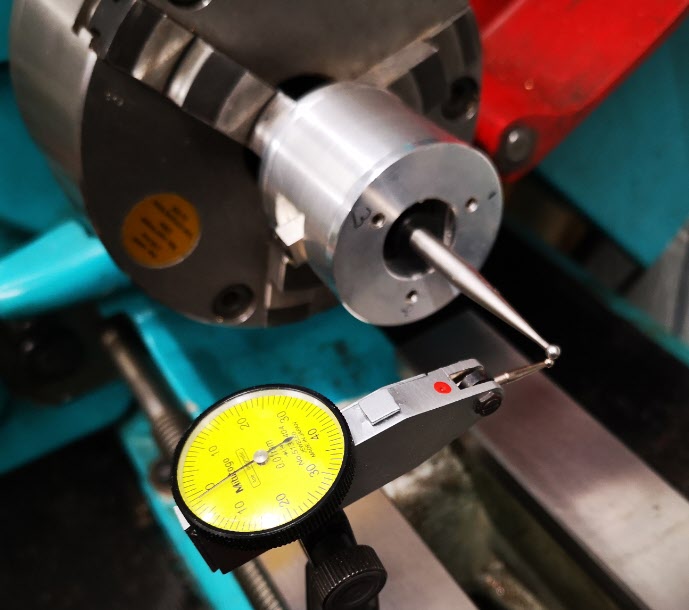
All operations were now complete and I mounted probe with its cable unplugged in the lather chuck with the new 19mm rod. I mounted my dial gauge on the lathe bed and set about centralising the probe ball. It was so much easier in the lathe with no cable to get in the way of things. Transferring the modified probe to the Tormach afterwards gave very similar centralising results.
So a typical workshop wormhole progression from job to job but as ever it was time well spent.
Similar or related subjects : –
- Eccentric Engineering Turnado freehand turning tool
- Rotring 300 2mm clutch pencil modification
- Kindling Cracker – a safer option
- SINO SDS2MS DRO repair
- A useful Amazon sourced small item storage system
- 3D Printed Threads Modelled in Fusion 360
- Three axis stepper controller PCB in stock
- Myford Super 7 Large Bore depth stop
- Tangential Lathe Toolholder for Myford Super 7
- Hemmingway Sensitive Knurling Tool