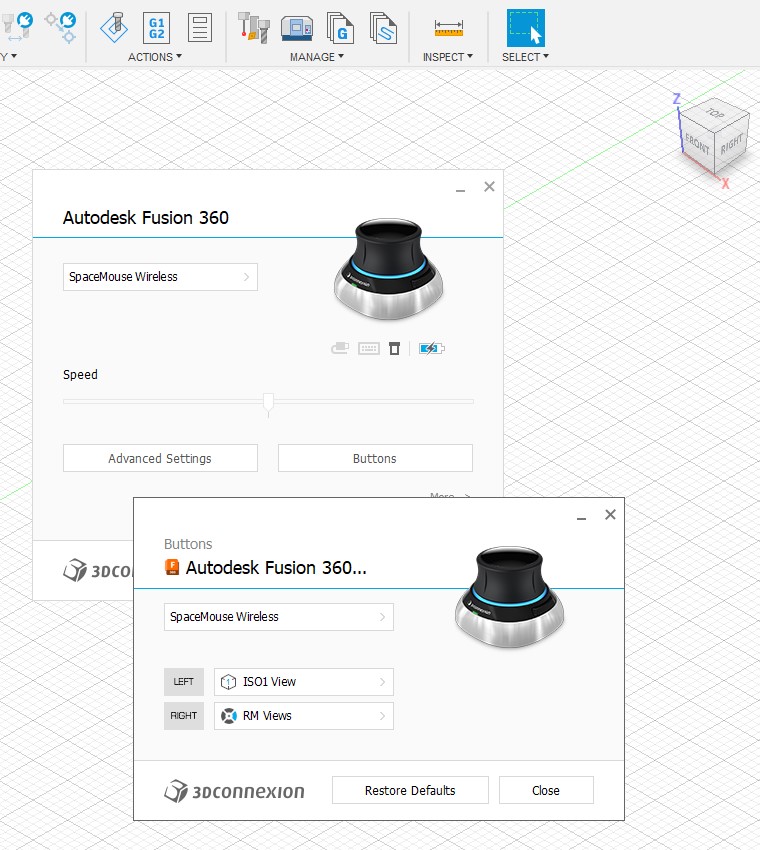
I had a mailer this morning from 3Dconnexion to say that their Spacemouse has now got better integration with Fusion 360.
One of my long standing frustrations when using Fusion 360 is that there did not seem to be a short cut or macro to provide the equivalent of using your right hand mouse to click on ‘Home view’. This is desirable when you have flipped and spun your model and just want a single action to reset the view to your starting position.
It appears that the 3Dconnexion Spacemouse now provides this and it can be associated with one of the two buttons on the device. You have to go to Settings/Buttons/Views and then select ‘ISO1 View’
Note that you have to set up the use of the two Spacemouse buttons for each Fusion module i.e. once in the Modelling module and once in Manufacturing module.
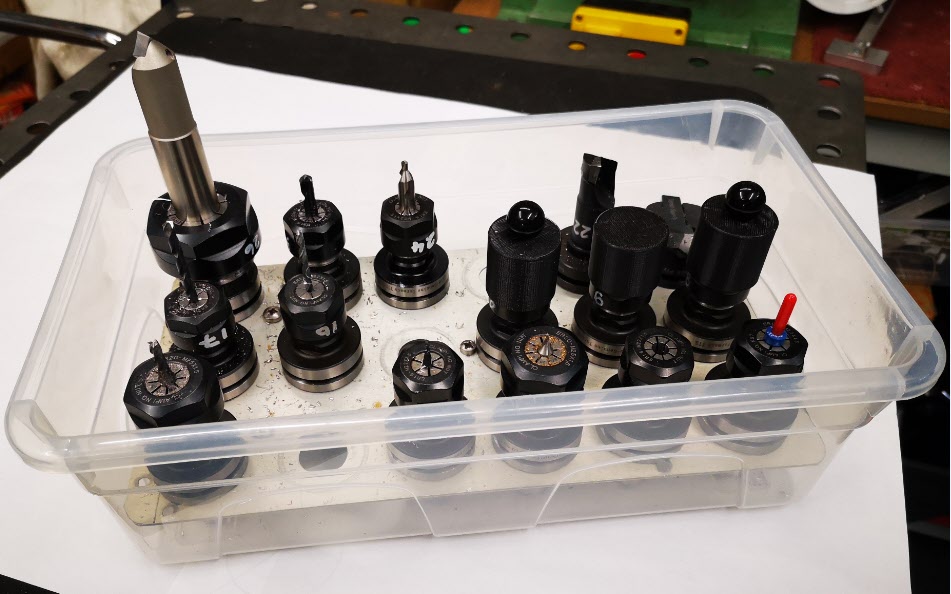
Some time ago I posted a note about using the Spacemaster 5L storage boxes for all things workshop. These are an incredibly versatile size and I admit to having a plethora of them sprinkled around the workshop including use for storage of my Tormach TTS tooling collets.
On the subject of TTS collets, I grew weary of having to repaint the tool number on the side of the collets and have migrated instead to printed labels.
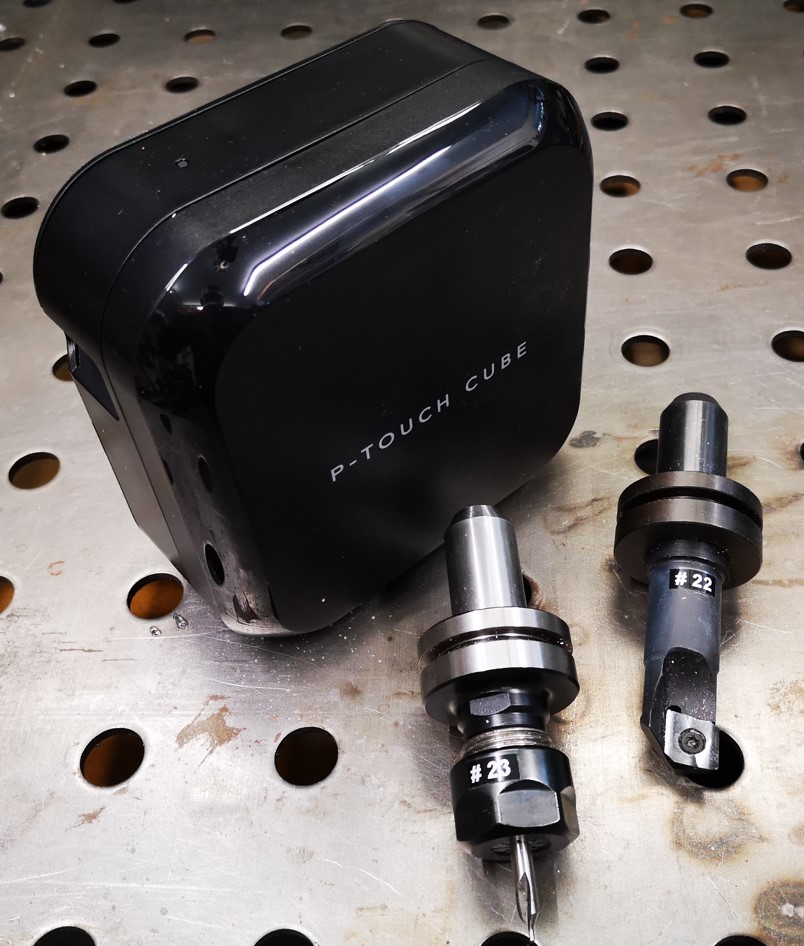
These are printed on a Brother P-Touch Cube printer using their 6mm White on Black tape stock. These look very professional and time will tell how robust they are when subjected to cutting fluid. The P-Touch is nice in that it is battery powered and connects on Bluetooth so I can print ‘on the go’ from the Android App. The only frustration with the P-Touch is that it wastes around 2cms of tape at the beginning of each label print. I minimise this wastage by concatenating all my labels into one long print and then cut them up individually with scissors after printing.
Last week we had the hottest day in the year so far and I had a couple of jobs to complete in the workshop. Not ideal but with the doors open I had a little through breeze. I had lots of aluminium to chop to length and my Femi NG120 bandsaw was doing sterling service.
A few days later when I needed to use the Femi again it was dead. Not a spark of life. I buzzed out the electrics and the trigger switch, emergency stop and end of cut switches were all working fine.
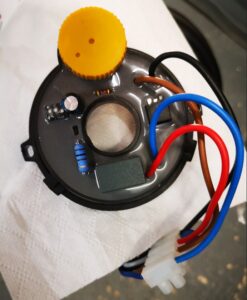
My conclusion was the motor controller had failed. This is a potted electronic assembly that sits on the end of the motor assembly inside the top of the motor housing. I measured various voltages with and without the trigger switch in action and sent the details off to Stakesy’s who is the UK distributor of Femi (the saws are made in Italy). As bad luck would have it my bandsaw was a few months outside of a 12 month warranty.
Stakesy’s sent off the details to Femi and after some email interchanges Femi agreed to supply a new motor controller module free of charge. This arrived in the post a few days later. It was an easy fit, just four wires into a chocolate block and the bandsaw sprung back into life. My hacksawing arm muscles breathed a sigh of relief.
As mentioned earlier, the motor controller module is a plastic moulding that has the electronics potted into the moulding. There are some parts proud of the potting compound but in the main all is submerged. With hindsight I wonder if something failed with the high ambient heat it was subjected to on my hottest day activity.
Femi motor controller module
Great service from both Stakesy’s and Femi. A big thank you to Matt and Alex for getting my NG120 up and running again.
It was Fathers Day last Sunday and apart from spending time watching the very exciting final round of the US Open I had a visit from one of my sons and my granddaughter.
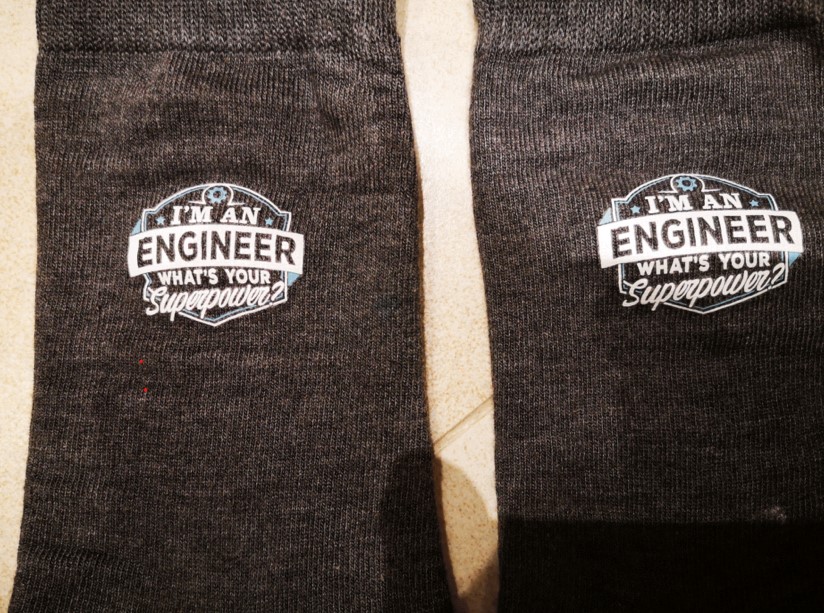
They came bearing gifts … a pair of socks. Not just a pair of socks but a very appropriate pair of socks.
It is a Superpower that we as engineers hold through our hands and our brains.
If we could just get the younger generations to understand the importance of engineering and how it creates wealth for our country and in turn contributes towards our future survival as a race.
Sheep Defences and Stainless Steel in Stainless Steel nightmare
We’ve just had 3 weeks in France and so I have been low profile in the workshop. Lots of jobs to do out there and we had 30C temperatures most days. This can be a bit draining, particularly after an extended lunch and glass or two of red.
Two main jobs done which are interesting to report on.
First of all we regularly get invaded by sheep who in bad weather prefer to use our terrace as a sheltering location. Sheep in France or at least our part of France do not seem to regard a fence or hedge as a barrier. If the grass is greener on the other side they are on their way. The owner of the sheep does not seem to care too deeply about this migration. Compare this to my farming upbringing in Yorkshire where we were liable for damages if our stock wandered loose onto a road and caused mayhem.
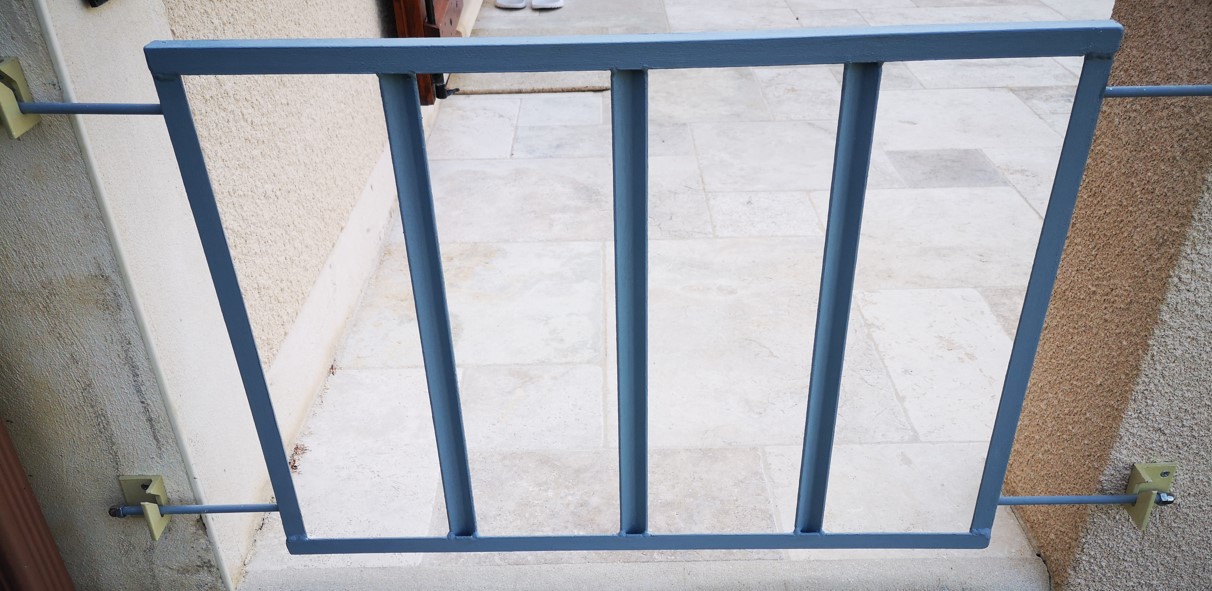
Back to the plot. The terrace has three entrances and our neighbour had helpfully taken the step of placing wooden pallets across these. This worked in stopping the wandering beasts but did not look too pretty. After the previous trip I measured up the entrance apertures and on return to the UK TIG welded some angle iron based barrier gates. These are held in place by some ‘drop in’ brackets. The TIG welding did not bare a close inspection but it created functional barriers. The mounting brackets were CNC milled on the Tormach 440. Image below.
For the first time ever I used some cold applied galvanising paint by Rust Oleum to coat the finished steelwork. This would coat easily if the metal was degreased thoroughly. I applied two coats and left it to harden. It smells and is very heady so application in fresh air is essential. Now I can’t exactly correlate this but I had a serious trouser clip session after using the stuff. Could be me. I certainly did not have a dodgy curry I can blame it on. Beware and mask up just in case.
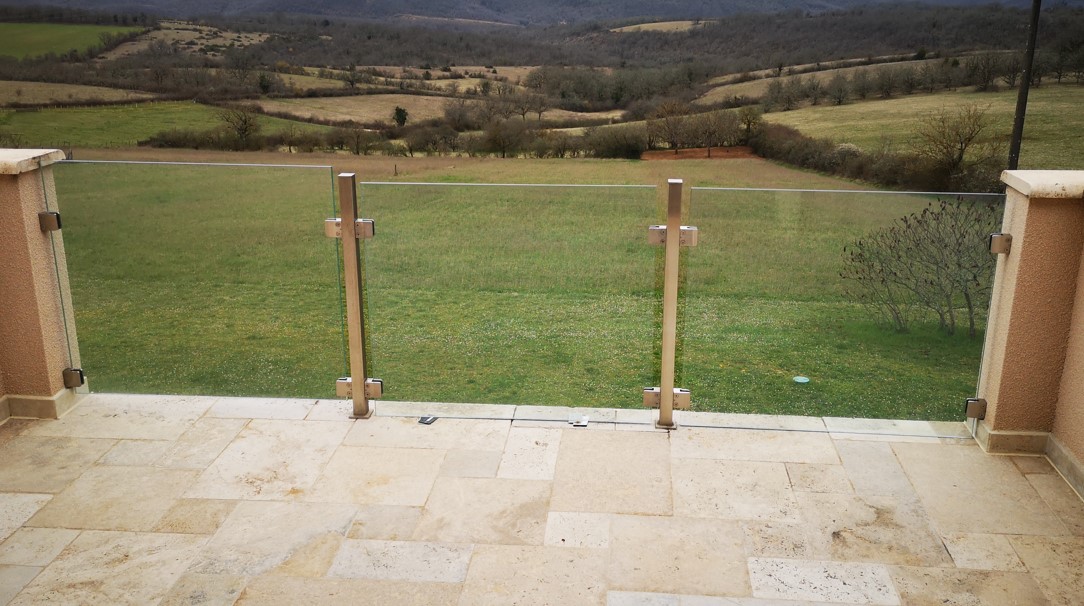
The second major problem to be solved was that we have a three panel glass balustrade on the balcony where two of the panels had slipped.
As you can see above, the glass is gripped in some stainless steel rubber padded brackets which are clamped by eight M8 stainless countersunk socket head screws per panel. Due to high temperatures two of the glass panels had slowly slipped in the brackets and come to rest on the balcony tiles. I just managed to get some expired credit cards under them.
You know what is coming next … stainless steel screws in a stainless steel body is a recipe for a bonding to take place between the two. After some serious attempts to free these screws I was left with three out of eight in one panel and one out of eight in the second panel refusing to budge. Added to the nightmare was my resulting own goal of total gouging of the hex holes in the heads of the unmoving screws.
The local Brico (aka DIY emporium) had some Cobalt twist drill at a reasonable price and a screw extractor set. I drilled down the centre of each bolt with a 5.5mm drill bit until I broke through the far end of the screw. Next step was to very carefully play a blow torch on the head of the screw (while protecting the glass) and once very hot, squirted it with freezer spray and then followed this with penetrating oil. I then left the screws to sulk for a couple of days.
Result. After hammering the screw extractor in place and applying some stiff force, the offending four remaining screws came out. It was interesting that the torque on the screw would not do anything until it reached a certain point and then click it would rotate free as if to say ‘what’s your problem’.
Having loosened the screws we than had to somehow lift the two very heavy sheets of glass. This was done with strapping tape loops at each end of the sheet and a lever rod onto the top of the adjacent post or wall. As I lever lifted, my wife shuffled larger and larger blocks of wood under the glass until we got the panels back to the correct height.
I then fitted new shorter M8 screws into the brackets with everything smothered in DC4 silicon grease. We left the panels sat on the wooden blocks and with the screws just tight enough to hold the glass vertical but not clamped hard.
The brackets as fitted are a bit like chocolate fireguards when the weight of glass is considered. I am currently looking at some additional supports that will sit under the glass (to replace our less than aesthetic wooden blocks) so the weight is supported by these and not just the original edge clamping brackets.
So not quite as restful a trip as we had planned but two problems solved.
Links to similar or related post are listed below : –