A replacement lead pusher/ sharpener button
I am a great fan of the Rotring 300 clutch pencil that takes 2mm lead. Together with Sharpie markers these make good shirt pocket workshop assets. The pencil has one weakness … the useless ‘sharpener’/ lead pusher that always keeps dropping out, rolling under something/ getting lost, all of which render the pencil frustratingly useless.
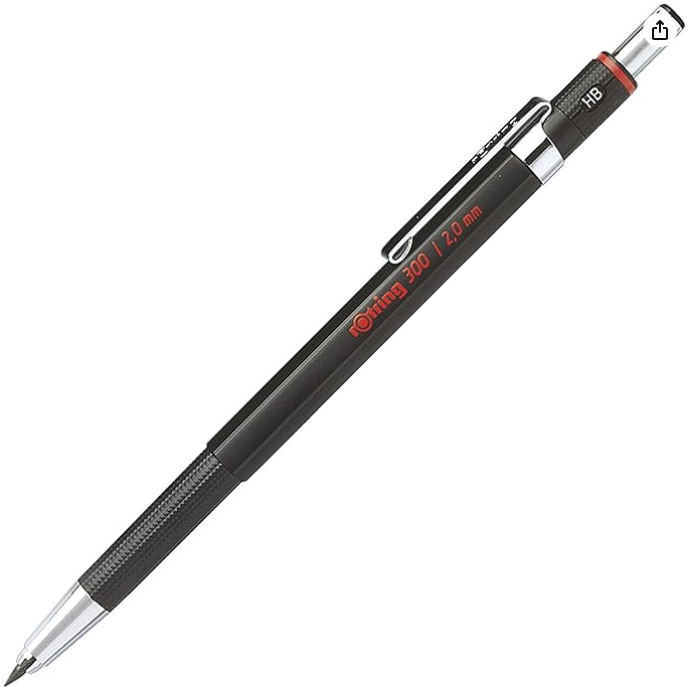
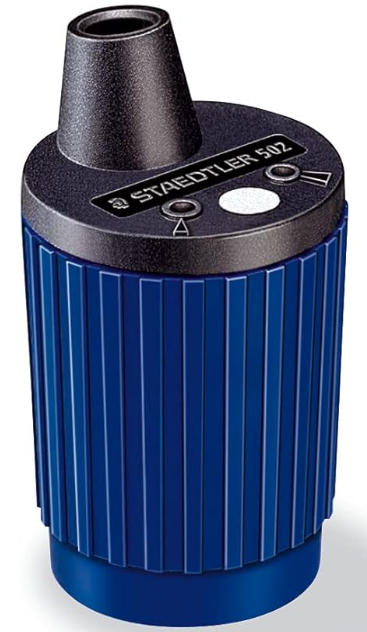
When this happens my solution is to model and make a replacement pusher albeit without the sharpener facility. I already have a Staedler Mars sharpener (#502) which is a far better sharpener.
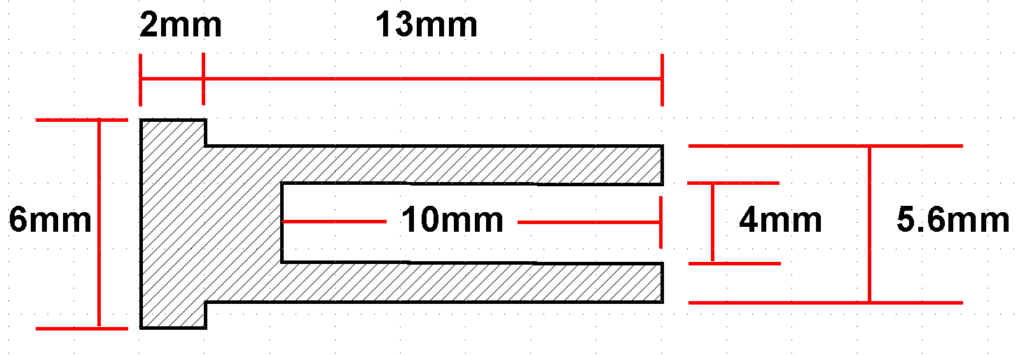
The choice of how to make the new pusher is either a very luxurious metal replacement or a cheap and easily replaceable 3D printed one. Both work well and below are the essential dimensions. Note that these are correct for a metal replacement but for a 3D printed one you might need to tweak the 4mm and 5.5mm diameters to suit your printer accuracy (4.25mm and 5.45mm on mine).
The 3D printed version has a natural friction that retains it in place. The metal one is a bit too perfect and needs the open end slightly distorted (crushed) to help retain it.
The pencils, spare leads and the sharpener all available on Amazon.
The final shirt pocket recommendation is the twin tip Sharpie marker. These are really useful for marking out.

Sorry that wasn’t very interesting but someone somewhere might be grateful of not having to waste too much time down on their knees looking for the useless end button.
Links to similar or related post are listed below : –
- Fanttik super tool is well worth a look
- Small handheld vacuum cleaner
- Eccentric Engineering Turnado freehand turning tool
- Rotring 300 2mm clutch pencil modification
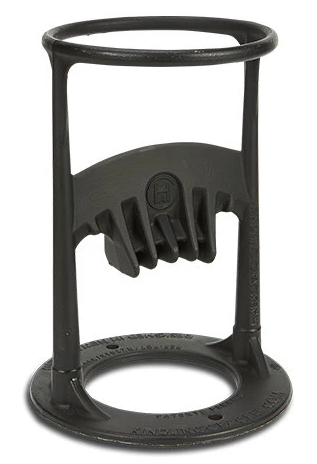
- Kindling Cracker – a safer option
- SINO SDS2MS DRO repair
- A useful Amazon sourced small item storage system
- 3D Printed Threads Modelled in Fusion 360
- Three axis stepper controller PCB in stock
- Myford Super 7 Large Bore depth stop