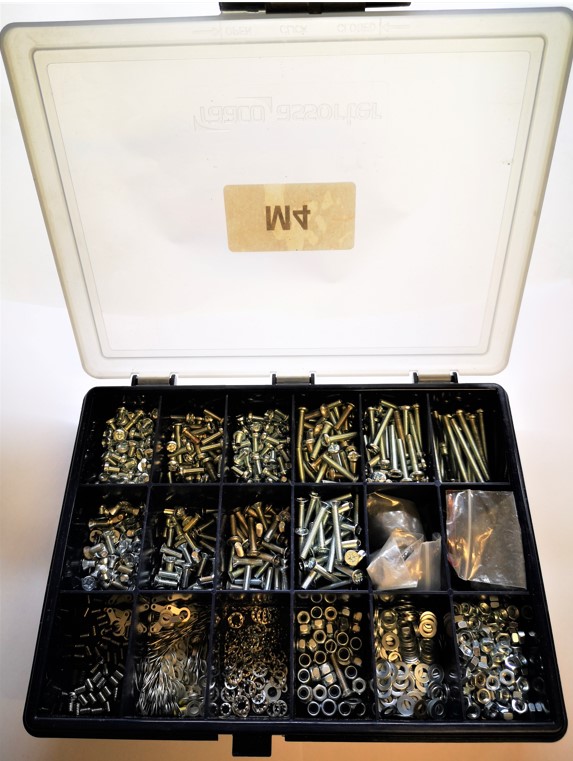
I am a great lover of the Raaco 18 section storage boxes for my various sizes and ranges of nut and bolt fasteners. These boxes are not unduly expensive and are very durable with a sliding locking latch (assuming you don’t forget to slide it place – see below).
To date these boxes have been stowed stacked one of top of the other on the shelf above my office workbench. Come the need to get a particular size fastener for a job I can bet on the box I need to access being at the bottom of the stack. This can get frustrating and can also be risky because if I haven’t fastened the lid properly there is an ever present possibility of a lot of fasteners hitting the floor with some associated colourful expletives.
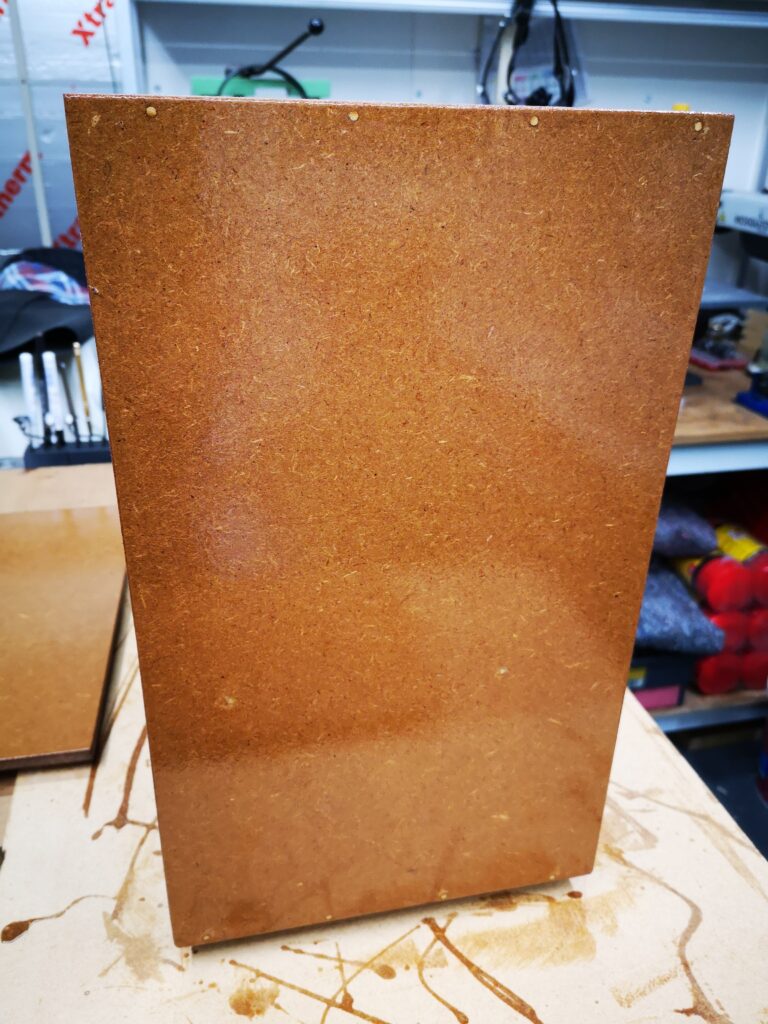
As you have probably gathered from the previous post, this has been woodwork week or at least MDF week if that counts as real woodworking. After finishing the storage box for my clock bushing gizzmo I still had MDF to spare. With some judicious juggling in Fusion 360, I came up with a design for a slide in storage rack for my Raaco box collection. In fact there was enough MDF left over to make two of these. I did have to buy in some 30mm x 2mm angle though. The design allows access to any fastener box without the need to shuffle the stack to get at the one I needed. Joy of joys.
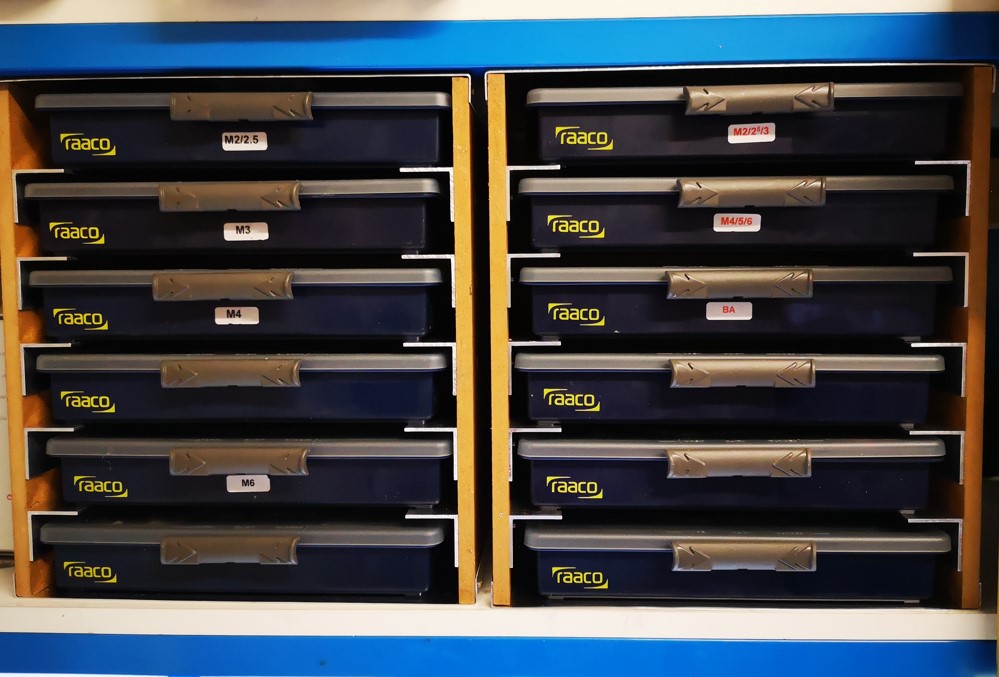
The storage unit is 300mm high and has MDF sides and back board. I had to revert to a 1mm sheet of aluminium for the top and bottom surfaces to get the optimum number of boxes to fit between the workshop shelves. Each storage slot has an aperture of 250mm x 47mm (excluding the aluminium angle) and is 180mm deep.
The added bonus to the design is that the Raaco fastener slide is a very tactile grab handle to draw the wanted box out of the rack. The feel of the slide also acts as a warning flag that the slide might not be correctly locked in place.
Yes I know it is all a bit anal. Making things to make things etc but less frustration means more productivity … well that’s the theory.
Similar or related subjects : –
- A poor man’s ring gauge set
- Error Code A9 on Odealis Gas Boiler
- Power banks that go to sleep with low current drain
- GyroCut versatile scalpel replacement
- Dry lining wall fastener fixing aid
- Simple Vice tommy bar modification
- Soldering Iron bit storage on Lytool soldering station
- Water Softener goes AWOL
- Noga External Deburrer and Cut Screws
- Technoline Wireless Weather Station problem